1、初始化element项目
1.1:vue init webpage '项目名称'
1.2:npm i element-ui -S
1.3:在main.js添加
import ElementUI from 'element-ui'
import 'element-ui/lib/theme-chalk/index.css'
Vue.use(ElementUI)
2、添加axios跨域请求
在main.js中添加
/*** 跨域设置* @type {AxiosStatic}*/import axios from 'axios'Vue.prototype.$axios = axiosVue.config.productionTip = falseaxios.defaults.withCredentials = false//这个默认即为false,如果改为true,可以传递session信息,后端要做相应修改来放行,
3、创建页面
发送请求
4、创建springboot项目
4.1添加一个controller类
@Controller
@CrossOrigin
public class TestController {@RequestMapping("/test")@ResponseBodypublic JsonResponseExt Test(){System.out.println("在执行~~~~~~~~~");return JsonResponseExt.success("执行");}}
JsonResponseExt是我自己封装的一个类,你们可以直接返回一个对象或者字符串也是可以的
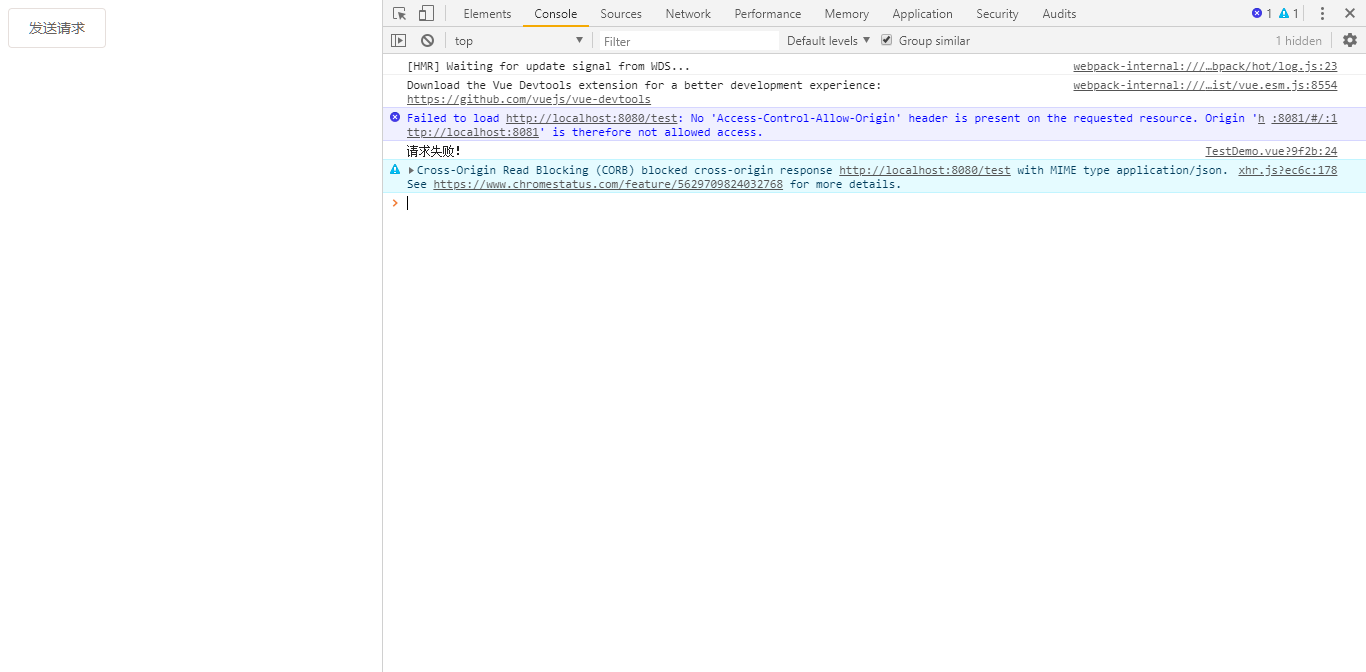
另外,在controller类里要添加@CrossOrigin注解,否则前端返回结果会报错

你也可以自己封装一个配置类例如
@Configuration
public class CorsConfig  extends WebMvcConfigurerAdapter {@Overridepublic void addCorsMappings(CorsRegistry registry) {System.out.println("----------------------");registry.addMapping("/**").allowedOrigins("*").allowCredentials(true).allowedMethods("GET", "POST", "DELETE", "PUT").maxAge(3600);}}
5、测试结果
